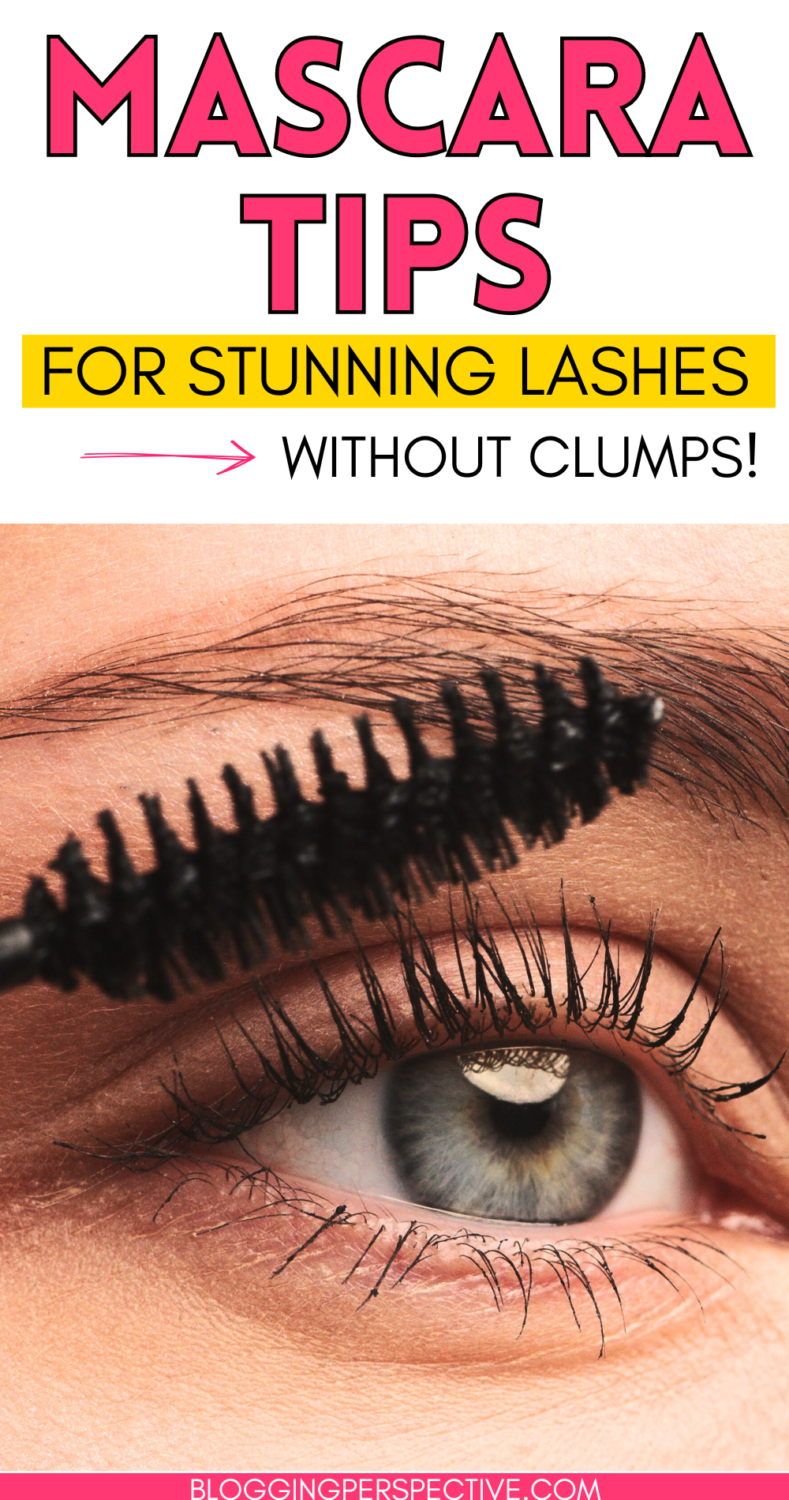
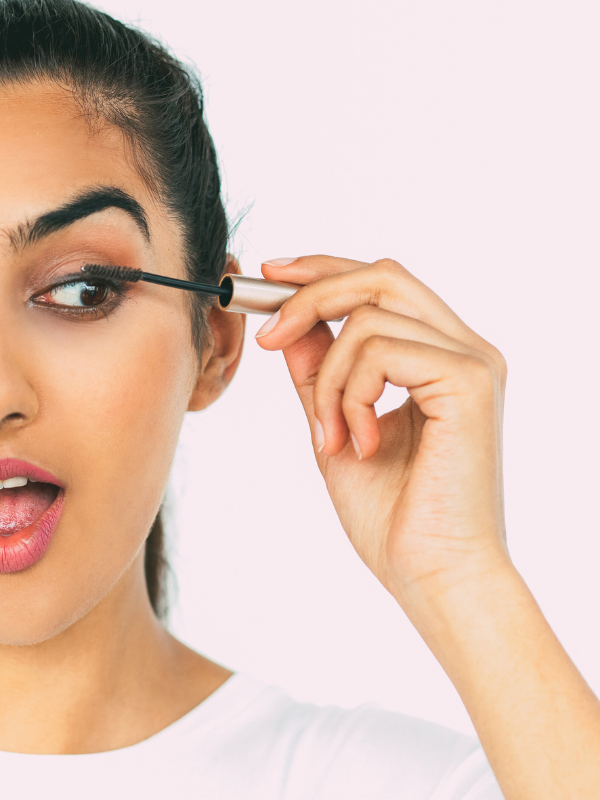
Hey bestie, let’s talk mascara real quick. You know how sometimes you’re trying to get those lashes on fleek, but instead, you end up with a mess?
Like, hello, I did not sign up for spider eyes!
But don’t sweat it, I’ve got some killer tips to share. We’re gonna tackle this together and get those lashes looking bomb, minus the drama.
Stick with me!
Also check out: 8 Secrets to Natural Eyelash Growth: Get the Flutter You Desire
1. Start With Clean Lashes
Girl, we all know the deal: starting with a clean canvas is key, even for your lashes. If you’re piling on today’s mascara over yesterday’s leftovers, we’re already off to a rocky start. Here’s the lowdown on getting those lashes squeaky clean:
- Gentle Cleanser: Use a gentle, oil-free makeup remover if you need to clean up your lashes to avoid any oily residue that could mess with your mascara’s vibe. If your lashes are completely makeup-free and oil-free from last night, you can just splash some water and move on to the next step.
- Pat Dry: After cleansing, pat those lashes dry with a soft towel. No rubbing or harsh moves here; we’re all about that tender love and care.
- Lash Comb: If you’re feeling extra, give your lashes a quick comb-through with a clean lash brush. It’s like detangling your hair but for your eyes, making sure every lash is ready to shine.
Trust me, starting fresh not only keeps your lashes healthy but also sets the stage for that flawless mascara application. Say goodbye to clumps and hello to gorgeous, defined lashes!
2. Don’t Use Old Mascara!
You wouldn’t drink milk that’s way past its prime, right? So why risk it with old mascara? Old mascara is not just a fast track to Clump City; it’s also a pool party for bacteria (ew, no thanks!). Here’s the scoop on keeping it fresh:
- Toss it out: After 3 months max, say bye-bye to your old mascara. It’s not just about performance; it’s about keeping those pretty eyes safe.
- Sniff test: If your mascara smells funky, it’s time for it to go. Trust your nose on this one.
- Performance check: If it’s getting dry or not gliding on like it used to, it’s a goner. You deserve only the best, babe!
Keeping your mascara game strong means keeping it fresh. Your lashes (and eyes!) will thank you.
3. Curl Your Lashes

Before you dive into the mascara, give your lashes a little pep talk with a lash curler. It’s like the difference between flat hair and voluminous waves! Curling your lashes opens up your eyes, making them look bigger and more awake. Here’s how to get it right:
- Warm it up: A little warmth on your lash curler can work wonders. Just a quick blast of your hair dryer on it, but make sure it’s not too hot!
- Pulse, don’t press: Gently pulse the curler at the base of your lashes. Think of it as tapping your finger to your favorite beat.
- Work in sections: Start at the base, then mid-lash, and a tiny bit at the tips. This gives you that natural, swoon-worthy curve.
Remember, be gentle! Your lashes are delicate little things. Treat them right, and they’ll give you that eye-popping look we’re all after.
You’ll probably also enjoy: Expert Tips for Your Most Beautiful Eyebrows Ever
4. Choose the Right Mascara

Choosing the right mascara is like finding the perfect pair of jeans; it’s all about what works for your unique style and needs. Think about what you’re looking for: volume, length, waterproof, or maybe something for sensitive eyes?
There’s a wand out there for everyone. From curved brushes that hug your lashes for extra lift to rubber bristles that separate like a dream, the right tool can make all the difference.
And when it comes to formula, whether you’re after a dramatic, bold look or something more natural, there’s a mascara that’s got you covered. Remember, it’s all about what makes you feel your best!
Our Favorites:
5. Bend Mascara Wand
Ever thought about bending your mascara wand? It might sound a bit out there, but trust me, it’s a game changer.
Giving your wand a slight bend can give you way better control, making it super easy to get to those hard-to-reach lashes without smudging your masterpiece.
Plus, it’s like customizing your mascara brush to fit your eye shape perfectly. So, give it a gentle bend and watch your lash game level up!
6. How to Apply

Applying mascara is truly an art, but with a few tricks, you’ll be a pro in no time. Here’s the rundown:
- Start in the Middle: Kick things off by applying mascara to the middle lashes. This gives you a nice balance right from the get-go.
- Wiggle the Wand: A slight wiggle from the base upwards ensures every lash gets some love, creating a fuller look.
- Thin Coats are Key: Rushing and applying a thick coat can lead to clump city. Thin coats are your BFFs here.
- Layer Up: Want more drama? Go for a second coat. Just remember to keep it light to avoid the dreaded spider lashes.
- One and Done: For a more natural vibe, stick to just one coat. It’s all about what feels right for you!
7. Clean Up Mistakes
Oops! Got a little mascara where it shouldn’t be?
Don’t stress! Wait for it to dry first (trust me, it’s easier to remove).
Then, gently flick it off with a clean, dry mascara wand or a Q-tip. For stubborn spots, a dab of makeup remover on a Q-tip does wonders.
It’s all in the cleanup, so you keep your fierce look flawless!
Also read: 11 Simple Natural Remedies to Regrow Eyebrows Thicker Fast
8. Remove Mascara the Right Way
Alright, let’s get that mascara off without any drama:
- Pick a Gentle Remover: Grab your fave oil-free makeup remover because we’re all about that gentle life.
- Soak a Cotton Pad: Let the remover soak into a cotton pad for a bit.
- Press Gently: Hold the soaked pad against your closed eyelid for a few seconds to loosen the mascara.
- Smooth Swipe Down: Gently swipe the pad down your lashes, taking the mascara with it.
- Clean Edges: Got some stubborn spots?Use a Q-tip for any leftover smudges.
And just like that, you’re mascara-free and ready to hit the pillow!
That’s It For Now!
Alright, you’ve got all the deets for killer lashes. Try out these tricks yourself, and see what vibes with your look. Let’s make those lashes pop more than usual!
Read next: Unveiling the Secret to Korean Glass Skin: Your Ultimate Guide
Save to Pinterest:


