Frizzy hair is the bane of my existence—seriously, it’s like every morning I’m battling against this wild lion’s mane to get that sleek, smooth, pin-straight hair look.
And if you’re anything like me, you know the struggle is real! It feels like taming frizz takes forever, and I’ll bet you’ve had those days when no amount of product or straightening makes you feel put together.
But here’s the good news: I’ve cracked the code on how to actually get rid of frizzy hair, for good.
Turns out, all you need is a solid hair routine and a few magical smoothing products. I’m spilling all my secrets in this guide so you can kiss that frizz goodbye and finally get that straight-out-of-the-salon smooth hair at home.
Ready? Let’s dive into the frizz-fighting routine that will have you looking flawless!
Save for later:

1. Bonding Treatment

If you’re dealing with stubborn frizz, it’s time to call in the big guns—a bonding treatment!
These treatments are absolutely amazing. They are specifically designed to repair the broken bonds in your hair that cause frizz.
Bonding products penetrate deep into the hair shaft to strengthen and smooth out each strand, making frizz less of a problem and more of a distant memory.
Look for a treatment that you can use weekly (like Olaplex or Redken) to rebuild those broken bonds and keep your hair looking and feeling healthier.
It’s totally worth the extra step in your routine if you’re aiming for frizz-free, glossy locks. Apply before shampooing (follow the instructions on the product)!
2. Hydrating/Smoothing Shampoo
If you’re using shampoo that’s too harsh or drying, it’s going to strip your hair of its natural oils, turning your frizz levels up to maximum chaos.
What you need is a hydrating and smoothing shampoo to keep your hair moisturized right from the start, eliminating that unwanted frizz.
Opt for shampoos labeled “hydrating”, ‘”frizz-free”, or “smoothing” to help control the frizz. It will set the foundation for sleek, smooth hair.
My personal faves? L’Oréal EverPure Sulfate-Free Frizz Defy Shampoo or Redken Frizz Dismiss—total game-changers!
3. Hydrating/Smoothing Conditioner
Once you’ve nailed the right shampoo, don’t slack off on your conditioner.
Frizzy hair craves moisture, so you want a conditioner that’s going to pack in hydration without weighing your hair down.
Again, look for products that contain words like hydrating and smoothing in the description.
Apply a generous amount to your mid-lengths and ends (where the frizz tends to go wild!) and leave it in for a couple of minutes before rinsing.
Giving it time to work is really important! This will help smooth the hair cuticle, which means bye-bye to flyaways and hello to silky, smooth hair!
4. Hair Mask (1-2x a Week Instead of Conditioner)

Now, let’s step up the moisture game even more with a hair mask—because sometimes your hair needs a little extra work to restore and nourish it deeply.
Replace your conditioner with a hydrating hair mask once or twice a week to really soak your hair in moisture.
Leave it on for 5-10 minutes while you do the rest of your shower routine (like singing your heart out to your favorite playlist, shaving your legs, etc).
This deep-conditioning step helps to keep your hair soft, smooth, and, most importantly, frizz-free.
Pro Tip: Check out the K18 leave-in mask—it’s a frizz-buster’s dream!
5. Smoothing Cream + Heat Protectant Spray
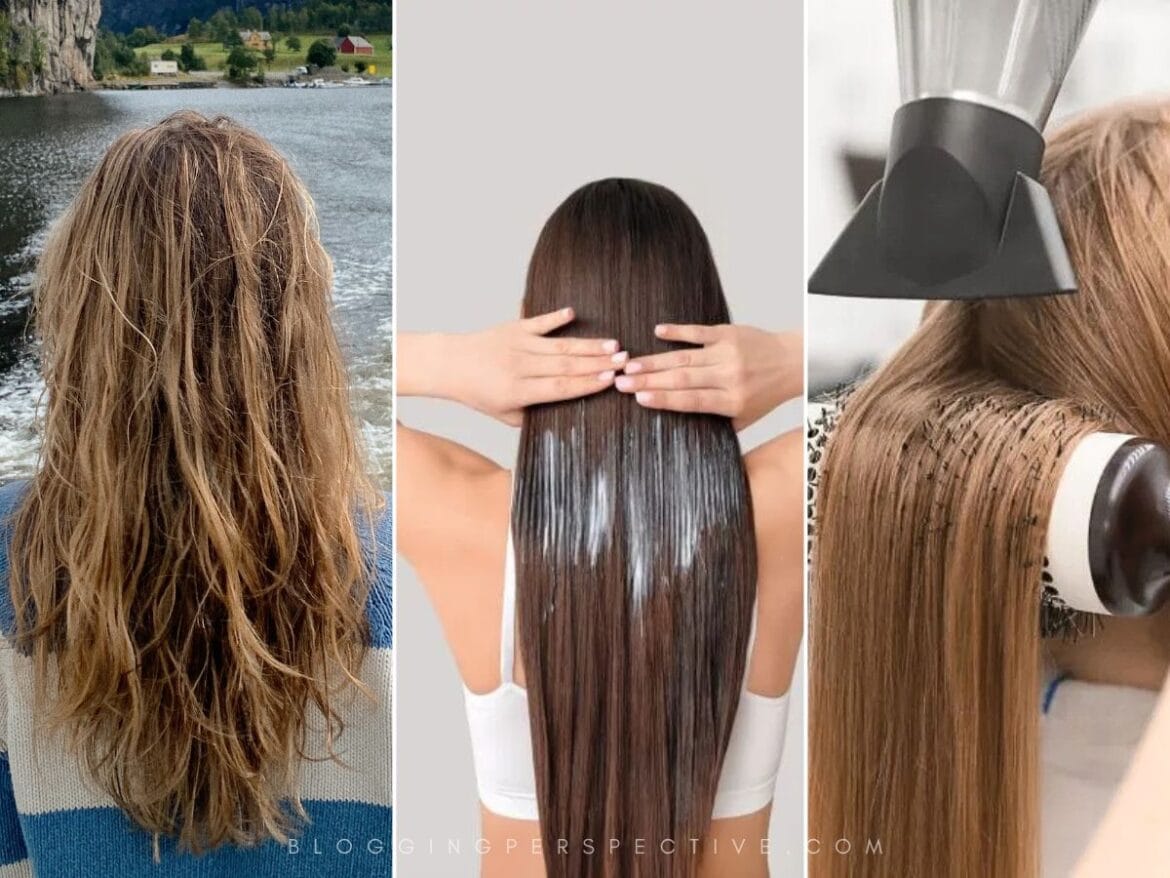
Once you’ve rinsed your hair out and gently towel-dried it for 20 seconds, you’re ready for the next steps.
Here’s where the magic combo comes in—using a thicker smoothing cream and a lighter smoothing product together.
The trick? Use a small to moderate amount of each!
Start by applying the cream to your trouble areas (start around your hair line) and then move on to lighter product, such as Brazilian Blowout Ionic Bonding Spray.
This double-duty duo ensures you’re smoothing out all the frizz without weighing your hair down.
Make sure to finish off with a heat protectant spray, but some products (like my favorite Brazilian Blowout Ionic Bonding Spray) already offer heat protection alongside its hair-smoothing properties!
Cover the roots and frizz-prone spots first, and then gently work your way down to the ends.
6. Blow Dry (with a Concentrator Nozzle)

Air drying your hair? Nope, not today!
As tempting as it is to let your hair dry naturally, it often leads to MORE frizz.
Blow-drying with the right technique will give you way more control over the frizz situation, so as soon as you’re done applying your hair products, move on to blow drying the hair.
Be sure to use a concentrator nozzle on your hair dryer to focus the airflow, therefore giving you the most control and yep, you guessed it, minimizing frizz.
First, rough-dry your hair for a few minutes, then switch to doing sections.
Grab a large round brush and work in small sections. This helps you really smooth out each part before moving on to the next, making your hair sleeker and less prone to poofing up later. Take your time – you’ll get better with practice!
You can use a hot brush if working with a hair dryer and a brush separately seems too tricky!
7. Use a Cool Setting to Finish the Blow Dry
Here’s a little trick to lock in all your hard work: switch to a cool setting for the last few seconds of your blow dry.
Cool air helps to close the cuticle and seal in that smoothness, leaving you with a polished, frizz-free finish.
Just blast each section with cool air for 10-15 seconds before moving on to the next. It’s basically like hitting the “save” button on your sleek hair look!
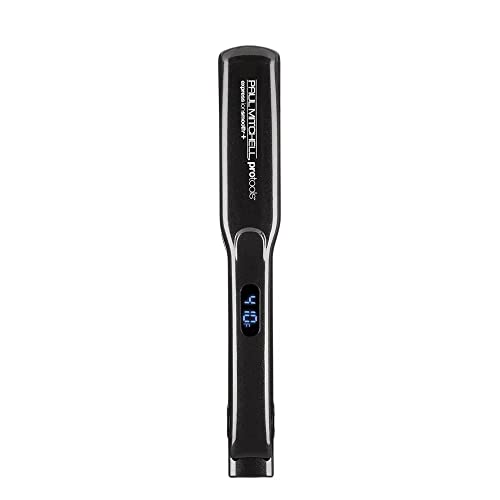
8. Flat Iron (If Needed)
If you’ve mastered the blow-dry technique, you might not even need this step, but if you want that super sleek, glossy look, the flat iron is your friend.
Just remember: less is more. Work in small sections, and don’t linger too long on each piece (especially the ends) to avoid frying your strands.
You’ll find that you won’t need to spend as much time here if you’ve done a good job with the blow-dry, so less heat damage—yay!
9. Anti-Humidity Spray (Last Step!)

The final touch? An anti-humidity spray.
This step is often skipped, and that is a real shame! An anti-humidity spray can do wonders for us frizzy/wavy gals to lock in that smooth, straight hair look and make it last much longer.
Think of it as your hair’s shield against moisture that causes frizz to sneak back in. Just a light mist all over will help keep your hair smooth and sleek for longer, even on the most humid of days.
Spritz it on, and you’re good to go—frizz? What frizz?
Enjoyed this article? Make sure to check out similar content:
10 Surprising Reasons Your Hair is So Frizzy (And How to Fix It!)
10 Frizzy Hair Remedies You Need to Try Now
Heat-Damaged Hair? No More! Discover How to Restore Your Tresses
9 Hair Growth Tips to Unlock Rapunzel Vibes
Pin for safekeeping:


