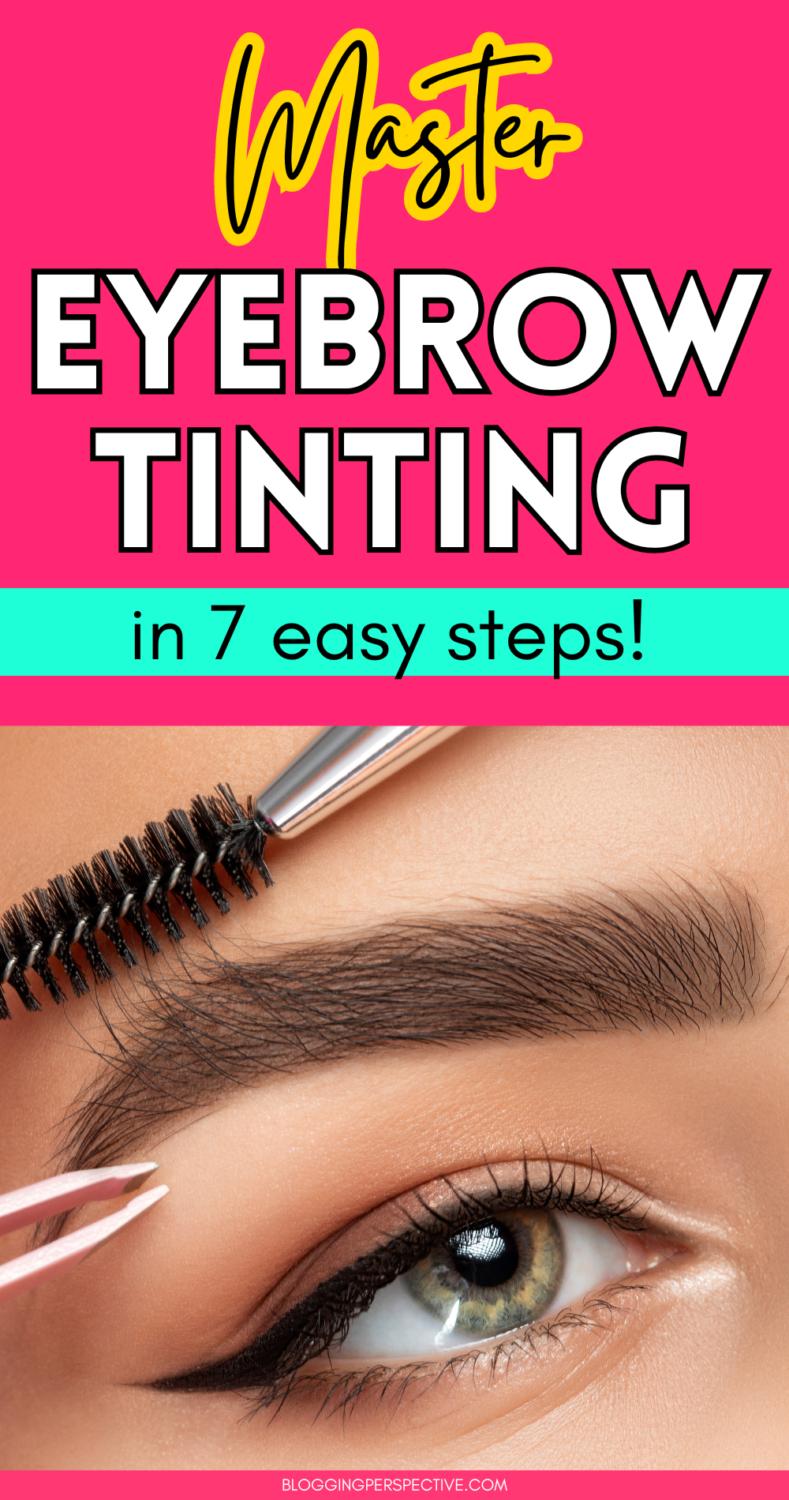
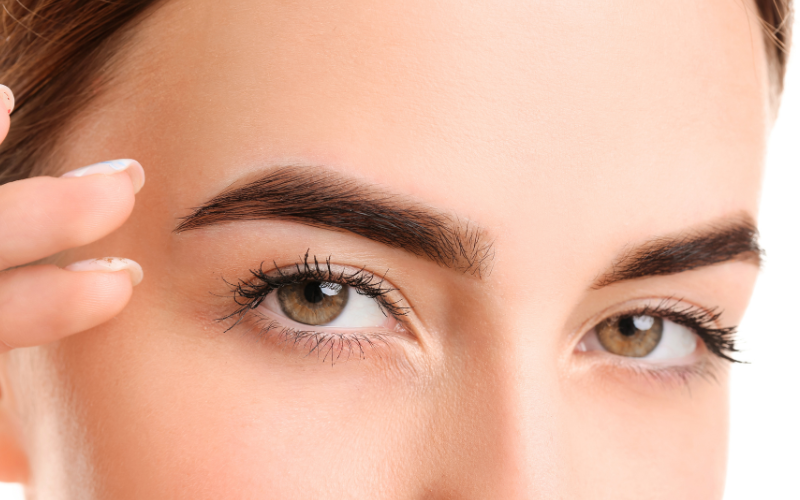
Eyebrow tinting can be a total game changer in a girl’s beauty routine. I mean, who doesn’t want to save time in front of the mirror every morning?
The right tint can transform your brows from “meh” to “wow” with minimal effort—talk about bang for your buck! But here’s the kicker: one tiny slip-up and you could end up with brows that scream “sharpie chic” instead of “naturally flawless.” 😳
No worries, though! I’ve got your back. Below, we’re spilling all the tea on the best tips for eyebrow tinting at home, plus some fab product recommendations that’ll help you nail it every time.
Let’s get those brows looking on point!
Best eyebrow tints for at-home tinting:
- RefectoCil Hair Tinting Kit (Natural Brown)
- RefectoCil Cream Hair Dye 2-Pack (Natural Brown + Light Brown)
- Just For Men Beard Dye (yup, works just as well on eyebrows!)
- MinaiBrow Tint Kit (great for a natural look)
- Godefroy Hair Color Kit (handy capsule system)
1. Use a Non-Greasy Makeup Remover or Specialist Cleanser to Prep
First things first—make sure those brows are squeaky clean before applying any tint. Leftover makeup or skincare residue can totally mess with how the color takes to your hair.
This is seriously the most important thing you can do for your eyebrow tint to look good and last longer!
Grab a non-greasy makeup remover or a cleanser specifically for prepping your brows/lashes before tinting. These specialist cleansers will remove all leftover traces of oil, dirt, and makeup.
You need a PERFECTLY clean canvas before you begin.
2. Do One Brow at a Time

Yes, I know—it’s tempting to just slap tint on both brows and be done with it. But trust me, take it one brow at a time.
Why? Because this stuff develops faster than you think.
Doing each eyebrow separately means you’ll have more control and can wipe off the tint as soon as it reaches that perfect shade.
No more one brow looking darker than the other, thank you very much! Set a timer for each brow. We all get distracted (hi, TikTok), and it’s way too easy to lose track of time and end up with super intense brows. Better safe than sorry!
3. Apply Vaseline Around Your Eyebrow
Okay, here’s a little trick that’s saved me from a LOT of post-tint panic: before applying the tint, use a cotton swab to outline your brows with a bit of Vaseline.
This acts as a barrier and keeps the tint from staining the skin around your brows.
That way, you won’t be stuck scrubbing at your skin if you get a little too ambitious with the application.
Just make sure you don’t get the Vaseline on your actual brow hairs, or the tint won’t stick. We want bold brows, not patchy ones!
4. Mix the Shades If Needed

Let’s be real—finding the perfect shade straight out of the box is like trying to find the right shade of foundation in a dimly lit drugstore.
Sometimes you gotta mix it up! If your tint looks just a smidge too dark, get a lighter shade and mix them up.
Too warm? Add a tiny dash of a cooler tone. Play around until you get your perfect match.
Always mix small amounts at first. It’s easier to tweak the shade when you’re working with tiny batches, and you won’t end up wasting product.
5. Clean Up with a Damp Q-Tip
Made a mistake? Don’t freak out! First of all, if you apply vaseline around your eyebrows before starting, that should provide a good barrier for your skin.
But just to make sure your eyebrows will be absolute perfection, grab a damp Q-tip and carefully wipe away any tint that strayed outside your brow lines.
The sooner you catch it, the easier it is to clean up.
Remember, you’re aiming for brows that look naturally filled in, not like they were stenciled on with a permanent marker. If you’re struggling to get rid of a stain, a little micellar water on the Q-tip should do the trick.
6. Shorten Waiting Time When Testing a New Shade

Most tinting instructions will tell you to let the color develop for 5-10 minutes, but here’s the thing: if it’s your first time with a new tint, or if you’re a little nervous about ending up with super dark unnatural-looking eyebrows, try wiping it off after just 2-3 minutes.
If it’s too light, no worries! You can always reapply and build up to your desired shade.
Start light, and work your way up—no one wants a brow disaster, and it’s way easier to add more tint than to remove it if it’s too dark.
7. Clean with Warm Water and Cotton Pads
Once you’ve hit the perfect shade (yaay!), it’s time to remove the tint.
Use warm water and some cotton pads to gently wipe away the excess product. Don’t rub too hard—your brows deserve gentle care after all that work.
And voilà! Say hello to beautifully tinted brows that look like you spent way more time on them than you actually did.
Brush your brows into place with a spoolie, and you’re good to go.
Enjoyed this? Also read:
Transform Your Brows: Expert Tips for Your Most Beautiful Eyebrows Ever
11 Simple Natural Remedies to Regrow Eyebrows Thicker Fast
Pin for later:


