
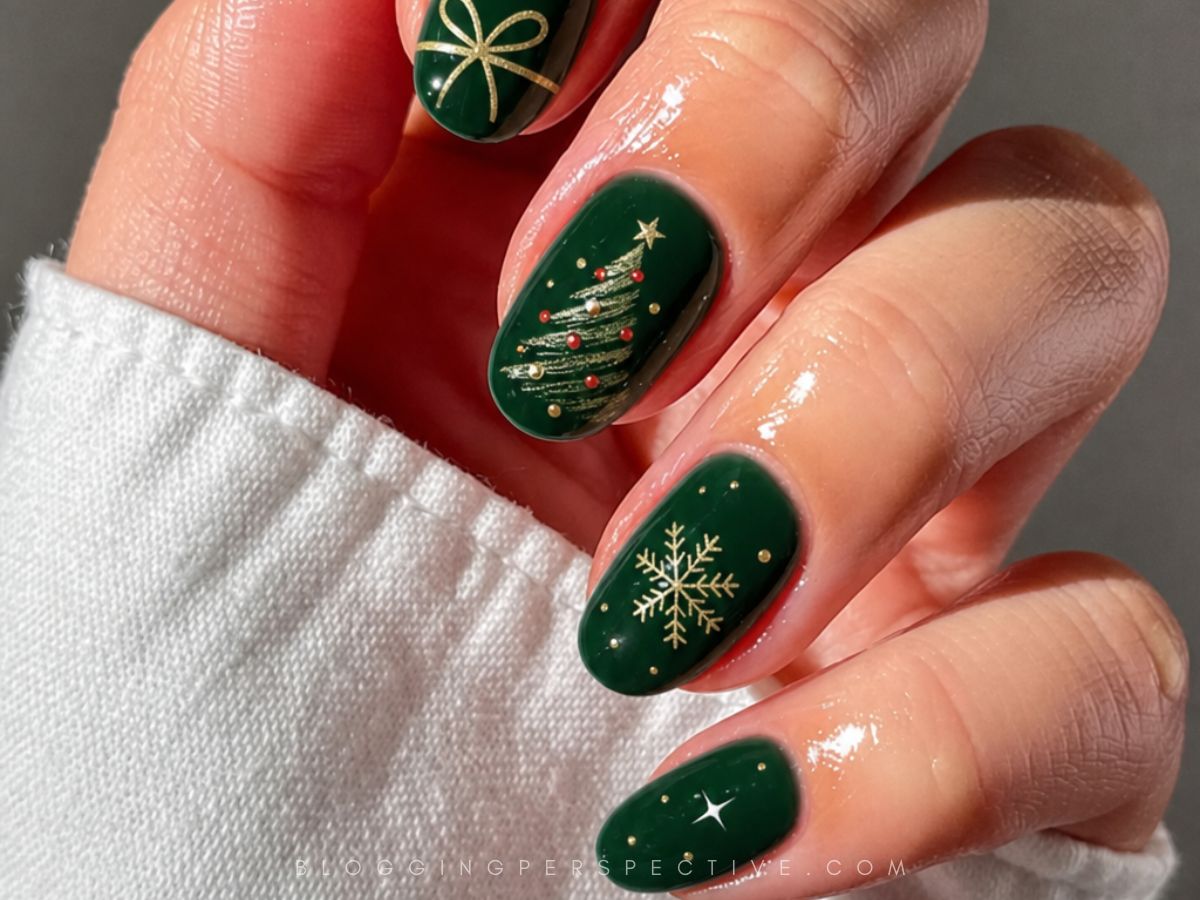
Choosing a green polish is rarely as simple as saying “green” at your nail appointment. Deep forest, jewel-toned emerald, and softer shades each bring a different personality to the same manicure.
With green Christmas nails, the shade you choose can set the mood before you even think about nail art. Start with a color you genuinely love, then decide whether it needs a little festive company.
Find Your Holiday Green
Start with the green itself, not the tiny decorations. A deep forest shade feels quieter, while a brighter green makes even a simple tip feel playful. If neither feels like you, try a softer olive before committing to a full set.
Then think about the finish. Glossy polish, matte tips, and glitter can make a similar shade feel totally different. Ask to see a sample with the finish you want, since the color in the bottle doesn’t tell the whole story.
- Pick Your Depth – Try a dark green for a subtle holiday feel or a brighter shade when you want the color to stand out.
- Compare The Undertones – Look at a cooler evergreen and a warmer olive side by side against your hand before choosing.
- Preview The Finish – Check a finished nail sample in daylight, especially if you’re deciding between matte polish and shimmer.
- Scale Down The Art – On shorter nails, choose a smaller bow or a simpler snowflake so the details don’t blur together.
- Choose Your Accent Count – Keep detailed art on one or two nails if you want the green polish to stay the main focus.
- Consider Raised Details – Ask for low-profile studs or painted versions of raised accents if you don’t want extra texture.
Silver Stars In A Smoky Sky
There’s a moodier holiday feel here, with smoky shading under a glossy finish and silver star accents. I like that it skips the usual bows and candy canes. For a green version, ask for sheer deep-green shading built up gradually rather than one opaque coat. Leave some space around the stars so the smoky effect stays visible.
Candy Stripes Meet Snowy Tips
Green tips, snowflakes, and glittery candy-cane stripes bring plenty of Christmas energy!! Keep the tip band narrow on shorter nails so there’s still room to read the tiny details. A fine nail-art brush will help keep the stripes separate instead of turning them into one glittery patch.
Holiday Plaid With Sparkly Lines
Plaid feels festive without needing a single snowflake. The glitter lines add a little shine to the pattern. For a green take, choose a dark green base and keep the crossing lines easy to distinguish. If you’re using regular polish at home, let the base dry before adding the plaid so your brush doesn’t drag it around.
Gift Bows With A Starry Twist
Green tips, gold details, star studs, and bows make this set feel extra celebratory. There’s a lot to enjoy here, so you don’t need huge accents. Ask for smaller, low-profile star studs if you want less texture on your nails. Painted stars are an option if you love the look but would rather skip the raised pieces.
Tiny Gold Details On French Tips
The neutral base keeps these green tips feeling light, even with gold bows, stars, and dots. Those little accents do plenty without covering the whole nail. Keep some clear space between each detail so the gold shapes stay readable. On a shorter set, you could choose just bows and dots to avoid crowding the tips.
Matte Tips With Tree Trimming Details
Matte tips give the gift-box lines, glitter, and pine-and-ornament accents a softer backdrop. It feels festive without making every surface shiny. Ask your nail artist to keep the matte finish on the tips while preserving shine where you want the glitter to catch light. That finish placement matters more than adding extra decorations.
Moonlight Sparkle With A Raised Drop
Moon and star accents take this glossy, glittery set in a nighttime direction. The raised drop detail adds another bit of texture. Keep that drop small and low-profile if you’re worried about snagging. You can also request a painted drop instead if you’d rather have a smooth finish.
Snowy Sparkle On Square Tips
Glittery tips and snowflake accents make these square nails feel wintry without a whole holiday scene. The straight shape keeps the tip design looking crisp. On shorter square nails, ask for a shallower glitter band so the snowflake has enough space to show its shape.
One Silver Accent Does The Work
Sometimes one glitter nail is enough. These glossy almond nails let a single silver accent handle the sparkle. For your green version, a deep forest shade would give the silver a noticeable contrast. Ask for thin glitter layers on the accent nail so it doesn’t look bulky next to the smooth polish.
Ribbon Stripes With A Glitter Twist
Glitter, stripes, and a bow bring the gift-wrap vibe without needing detailed holiday characters. The stripes give the design some structure, while the bow keeps it playful. Make the stripes thinner than the bow’s loops so the two details don’t compete. If you’re painting this yourself, sketch the bow with a fine brush before filling it in.
Glitter French Tips Without The Fuss
A neutral base with glitter French tips keeps things simple, but not boring. Choose green glitter for a holiday version that doesn’t need extra art. Use a narrow brush to shape the glitter edge instead of sweeping it on with a full-size polish brush. You’ll have more control over the curve and the width of each tip.
Candy Cane Tips With A Snowy Twist
Square neutral nails leave the candy stripe and snowflake tip details in the spotlight. It feels festive without covering the entire nail in art. Keep the striped area slim if you want more of the neutral base showing. For regular polish, let each stripe dry before painting beside it to avoid muddy edges.
Gnomes And Wreaths At The Tips
Neutral nails with glitter tips leave room for the gnome and wreath accents to be the fun part. These little holiday characters don’t need a busy background. Ask to keep the gnome and wreath on separate accent nails so neither gets squeezed. A simple wreath shape will be easier to read on a shorter nail than lots of tiny foliage details.
Gold Stars On A Glossy Base
A solid glossy base with gold stars and dots keeps the holiday mood pretty straightforward. No stripes or little characters to juggle here. Choose a deep green base if you want a darker version of this idea. Keep the dots smaller than the stars so they act as little fillers rather than competing accents.
Cozy Knit Texture With Winter Details
Matte nails with holly, snowflakes, and sweater-knit texture lean into the cozy side of Christmas. The knit detail gives you something different from another glitter accent. Ask for a low-profile knit pattern if you want the texture without much bulk. You could keep the raised knit on one nail and let the painted details carry the rest.
One Snowflake In A Glitter Storm
Glitter nails with one snowflake accent make the decision pretty easy: sparkle first, tiny winter detail second. Keeping the snowflake on a single nail gives it a clear place to shine. Choose finer glitter beneath that accent if you want the snowflake’s lines to stay easy to see.
Presents And Snowy Details
Dark green and neutral nails give the snowflakes and gold bows room to stand out. The gift-wrap accents make the whole set feel like little presents. Ask for narrow ribbon lines so they don’t crowd the bows, especially on shorter nails. You can keep the snowflakes simple if you want the gold details to get more attention.