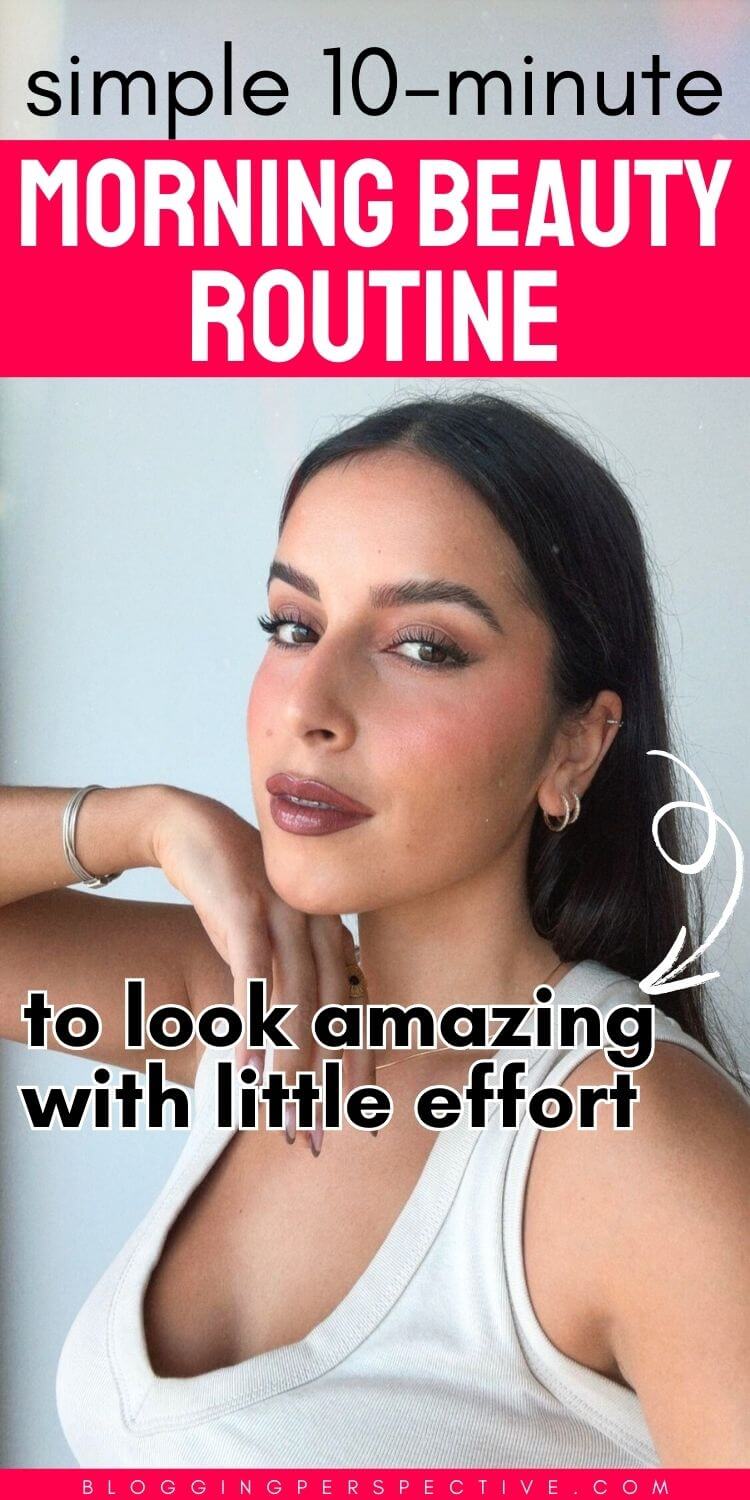
Mornings can feel like a mad dash, but even on the busiest of days, squeezing in a simple beauty routine can totally change the vibe.
Starting the day with a quick refresh doesn’t just wake up your skin—it sets the tone for feeling good and looking put-together, even if you’re running on zero time.
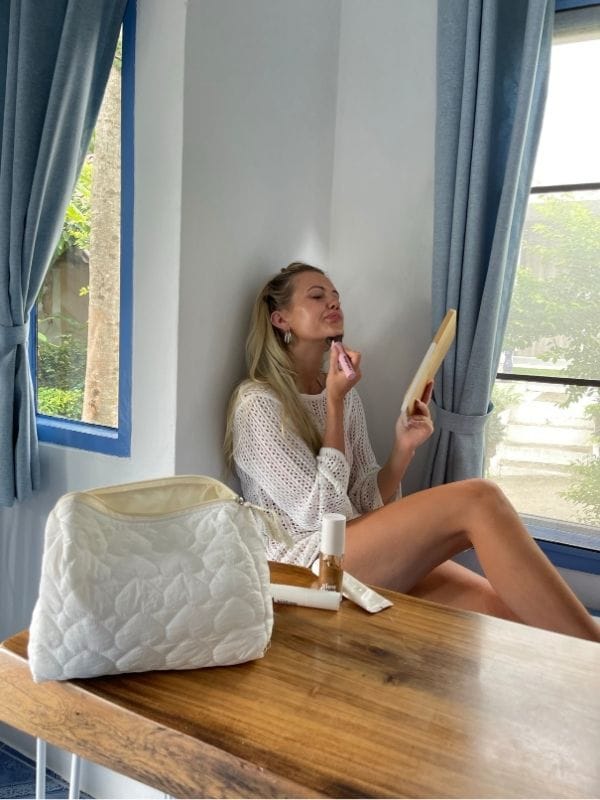
I personally use this routine on a daily basis, and getting ready has never been faster. The best thing is that you still look and feel super put-together.
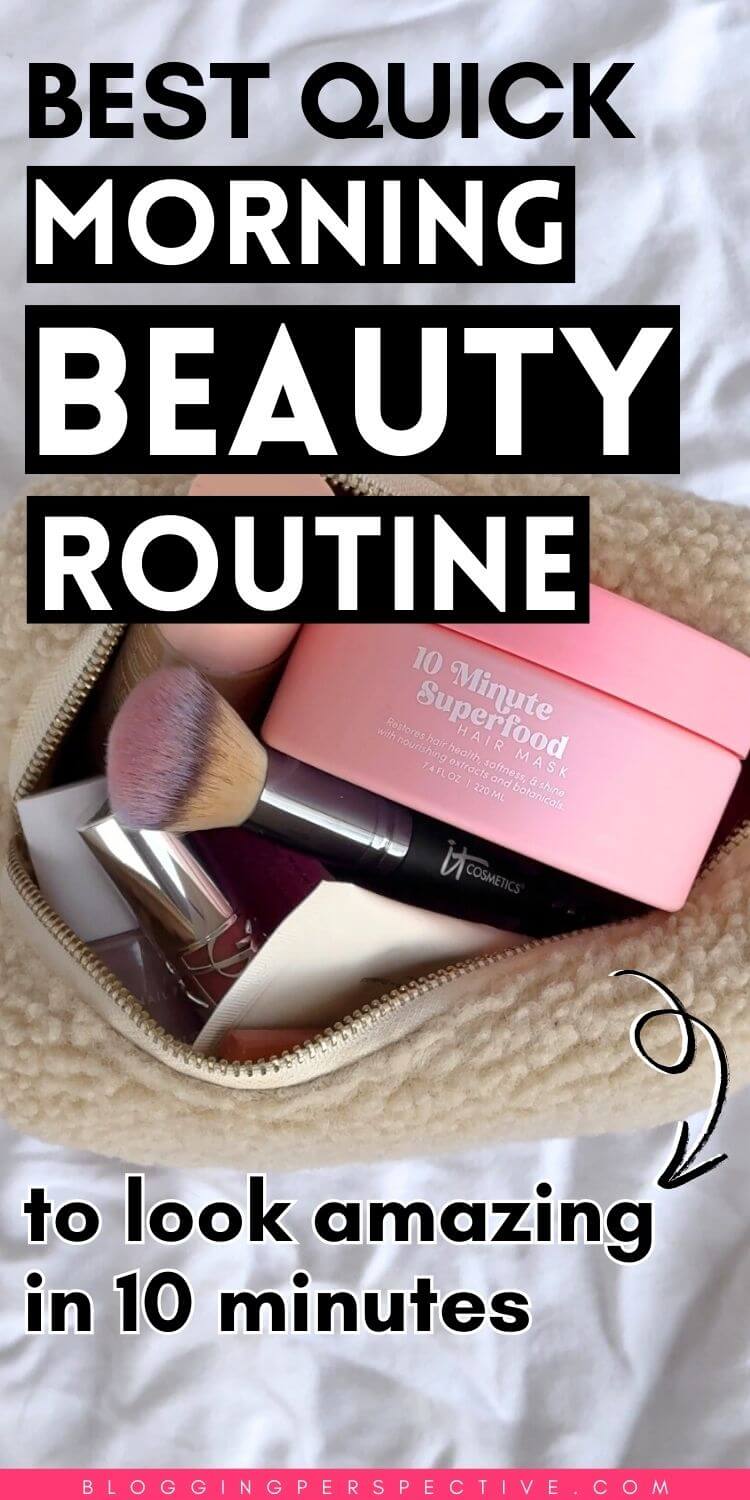
Save this pin for later:
It totally doesn’t have to be overcomplicated.
A few minutes and the right products can leave you glowing, confident, and ready to tackle your to-do list.
Let me show you how easy it can be.
Simple Morning Skincare Routine
Your morning skincare routine doesn’t need to be an hour-long affair with ten different products.
A straightforward, three-step system is all you need to leave your skin refreshed, protected, and ready to face the day.
The key is focusing on consistency and choosing the right products for your skin’s needs. Let me break it down for you.
Step 1: Cleanse with Water
Let’s keep it simple: if you’re cleansing properly at night, washing your face with just water in the morning is often enough.
Why? Your skin isn’t battling dirt, makeup, or sunscreen while you’re sleeping, so there’s no need for a heavy-duty cleanser first thing.
Over-washing can strip your skin of its natural oils, which are super important for keeping things balanced and healthy.
Washing with water gets the job done by removing any sweat or oils that built up overnight without leaving your skin feeling dry or tight. It’s gentle, quick, and helps maintain that natural moisture barrier that your skin works so hard to protect.
If you’re someone who wakes up feeling oily, a splash of lukewarm water and a soft towel pat-dry will have you good to go. Easy, right?
Step 2: Moisturize According to Skin Needs
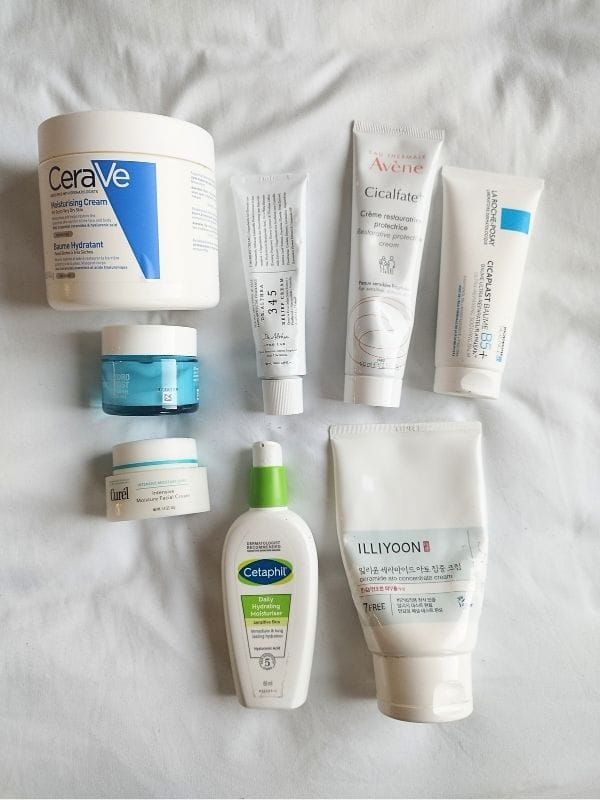
Never skip moisturizer—no matter your skin type.
Hydration is the backbone of any skincare routine, and a good moisturizer locks in hydration and helps your skin barrier stay strong and happy.
The key is choosing one that fits your skin’s vibe. Here are some that work for different concerns:
- Cerave Moisturizing Cream: This one’s a no-fuss, everyday hydrator. It’s has ceramides and hyaluronic acid to leave your skin feeling soft and plumped up. This is as simple as it gets!
- Avene Cicalfate+ Restorative Cream: If your skin barrier’s acting up (I’m talking dryness, irritation, or redness), this is like a little first-aid kit in a tube. It’s calming, super gentle, and designed to repair damage. You will LOVE how your skin looks using this moisturizer – it gives it this healthy glow, like you’re super hydrated and radiant.
- Dr. Althea 345 Relief Cream: Struggling with acne? This lightweight cream hydrates without clogging your pores. It’s perfect if you have pimples but don’t have time to layer a million different anti-acne products. this cream has ingredients that both address the acne, and work to hydrate and restore your skin barrier. There’s a reason it’s been trending on TikTok!


Step 3: Sunscreen Protection
Let me shout this louder for the people in the back: never skip sunscreen. You can skip all your toners, essences, serums, and other things, but NOT the sunscreen!
It’s one of those things where you might not feel like you see the difference after using it, but it’s the effect of using it over time that protects your skin from damage.
It’s your skin’s best defense against sun damage, wrinkles, dark spots, and all the stuff you don’t want hanging around.
If you’re going to be leaving the house, daily sunscreen is a must, period.
Now, let’s talk types. You’ve got two main options: mineral sunscreen and chemical sunscreen.
- Mineral sunscreens (like zinc oxide or titanium dioxide) sit on the skin and physically block UV rays. They’re great if you’ve got sensitive skin or just like something more natural.
- Chemical sunscreens absorb into the skin and convert UV rays into heat. These tend to be lighter and less white-cast-y (yes, that’s officially a word). Perfect for anyone who doesn’t want to spend extra time blending.
Need some recommendations? Here are a few fabulous options:
- Thank You Farmer Water Sun Cream: Lightweight, hydrating, and totally invisible under makeup. It’s a crowd favorite for a reason.
- Beauty of Joseon Relief Sun: This creamy chemical sunscreen feels like a moisturizer and works wonders for dry or combo skin. If you’re picky about texture, this’ll win you over.
- Summer Fridays Mineral Milk Sunscreen: A mineral option that’s silky, lightweight, and doesn’t leave you looking like a ghost. Ideal for sensitive skin or a dewy finish.
Be generous with application—the rule is that you need two fingers’ worth of product for your face and neck.
Yes, don’t forget your neck (and ears). It’s all part of the deal.


These easy steps set up your skin for success in less time than it takes to scroll Instagram. Next up? Let’s tackle the makeup part of the routine so you can look glowy but still totally natural.
Simple (But Effective) Makeup Routine
Let’s be real: a good makeup routine doesn’t need to take forever or require 20 different products.
Some mornings, you’ve got maybe 5 minutes to spare, and that’s totally fine.
The trick is focusing on a few key steps that enhance your features and leave you looking fresh, glowy, and ready to own the day.
Here’s how to keep it simple but effective.
Step 1: Light Coverage
When it comes to creating an even base, less is more.
You don’t need a thick foundation when there are lighter, multitasking products that give your skin a natural, breathable finish.
Depending on your vibe and coverage needs, you’ve got three solid options:
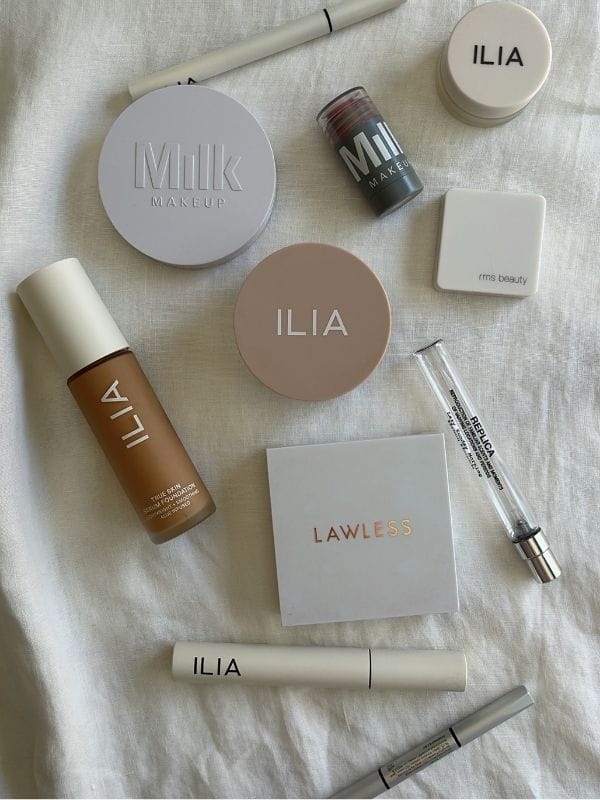
- Skin Tints: These are the ultimate “your skin but better” products. They’re super lightweight while evening things out and adding a healthy glow. If you want that dewy, barely-there finish, I recommend something like the L’Oréal Tinted Serum or ILIA’s Super Serum Skin Tint. Perfect for those no-makeup makeup days.
- BB Creams: Need a bit of coverage but also want additional benefits? BB creams should be your go-to. They blur imperfections, hydrate, and sometimes include SPF (easy win). Try Erborian’s BB Cream for a silky, skin-like finish, or for something with niacinamide for blemish-prone skin, Dr. Jart BB Cream will do the trick.
- CC Creams: If redness or uneven skin tone is your biggest concern, CC creams are where it’s at. They correct the redness, cover, and brighten. For glowy vibes, the IT Cosmetics CC Cream is a true favorite. If you prefer something more lightweight, check out Lumene CC Cream.
Which one to pick?
Ask yourself: “Do I want to barely look like I’m wearing makeup?” Go for a skin tint.
Need just a little more? BB cream might be the option for you.
Got redness or discoloration to tackle? CC cream for the win.


Step 2: Quick Highlight
We all love a good glow, right? A highlighter is like an Instagram filter for your real life—adding dimension, brightness, and a touch of glam without going overboard.
The best part? You don’t need to do a full contour routine; a quick swipe is enough to make your features pop.
For something ridiculously easy, I love the ELF Halo Glow wand.
You dab it on your cheekbones or the bridge of your nose, tap it out with your fingers, and boom—instant glow.
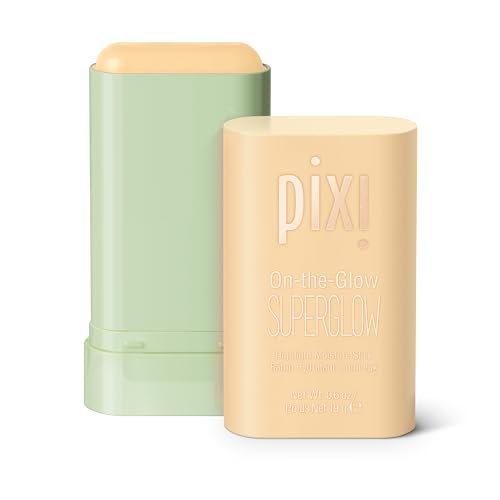
If you want a no-fail stick option, the Pixi On-the-Glow SuperGlow is amazing. It’s creamy, blendable, and ideal for mornings where you’re in a rush (aka every morning).

Step 3: Filling In Brows

Let me just say it—doing your brows is the most important part of your makeup routine.
They instantly frame everything and make you look more pulled together, even when the rest of your makeup is super simple.
My go-to is a combination of Anastasia Beverly Hills Brow Wiz pencil for filling in the brows (it comes in many natural-looking shades), and her Brow Freeze Gel—it gives great definition and stays put all day.
Focus on the arch and tail for the most polished look, then brush through the rest for a soft, natural vibe.


Step 4: A Touch of Mascara
Mascara is like coffee for your lashes—it wakes everything up. Even if you skip everything else, a swipe of mascara can make your eyes pop and pull your whole look together.
- For a natural, pretty lift, I love the Lash Idôle Lash-Lifting & Volumizing Mascara. It separates lashes, gives a fluttery effect, and never looks clumpy.
- Want something a little more bold? Go for Too Faced. It brings drama, volume, and all the extra oomph that makes your lashes the star of the show.


Step 5: Natural Lips
Finally, let’s give your lips a little love. I’m all about products that enhance your natural lip color without feeling heavy or sticky.
If you want a soft tint that lasts all day, try a lip stain. It’s perfect for that “I woke up like this” vibe. Plus, you don’t need to reapply every hour—win-win.
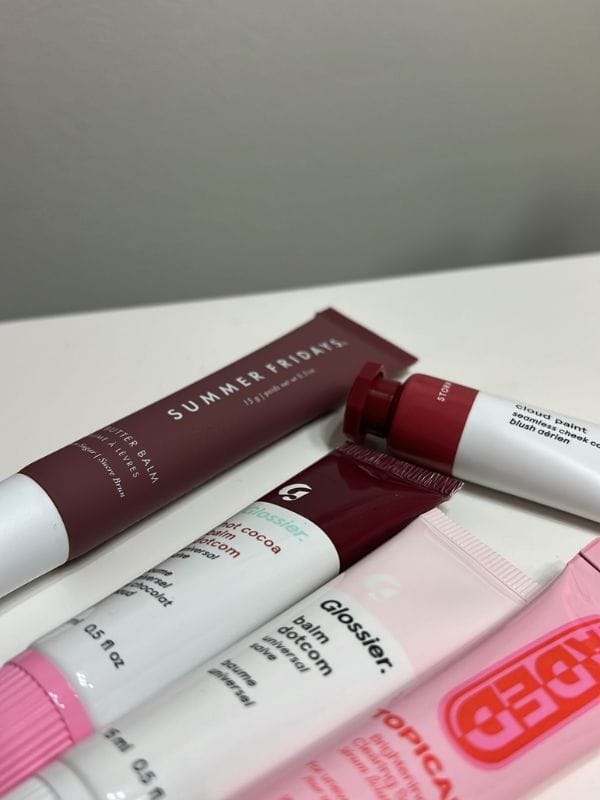
On super busy days though, a simple balm (like Glossier or Summer Fridays) is my go-to. It hydrates, adds just a tiny hint of shine, and keeps your lips soft and kissable.
That’s it—five simple steps to pull your makeup look together in under 10 minutes. What I love most about this routine is how easy it is to customize.
Tweaking it based on how you feel that day makes it feel totally effortless and still you.


Easy Morning Hair Routine
Let’s talk about hair. We all know that how your hair looks can totally change how you feel heading out the door.
But let’s be real—we don’t always have time for a blowout or elaborate styling.
That’s why an easy morning hair routine is essential.
These steps will have your hair looking fresh, polished, and put-together in no time. Let’s make the bedhead struggle a thing of the past!
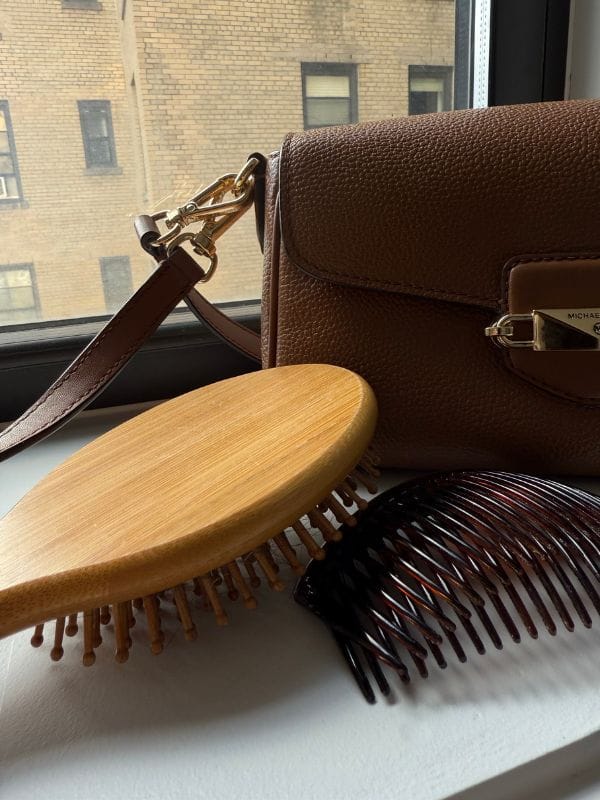
Step 1: Brush to Get Rid of Frizz
The first step to any good hair day? Tackling tangles.
Whether your hair is fine, thick, straight, or curly, giving it a proper brush in the morning is non-negotiable.
Brushing doesn’t just get rid of knots—it’s also great for reducing frizz and evenly distributing your hair’s natural oils (think of it as a natural hair conditioner).
Step 2: Freshen Up with Dry Shampoo
Let’s be honest, not every morning is a wash-and-style kind of morning. When you’re short on time, dry shampoo is your literal best friend.
A good formula, like Living Proof Dry Shampoo, doesn’t just mask grease—it actually absorbs it, giving your hair life and bounce.
Plus, it adds just enough volume to make you feel like you definitely woke up like this.
Here’s how I use it:
- Give the can a quick shake.
- Hold it about 6 to 8 inches from your roots and spray lightly.
- Let it sit for about 30 seconds, then give your scalp a quick massage or brush it out.
Boom—your hair looks freshly washed, minus the time sink. Bonus: the volume it adds makes styling soooo much easier.

Step 3: Easy Hairstyles for Bad Hair Days

Bad hair day? Join the club.
Some mornings, you just need something quick and chic to hide the fact that your hair has a mind of its own.
Good go-to hairstyles that always work when my hair’s being stubborn:
- Sleek Bun: Gather your hair into a mid or low bun, smoothing everything down for a clean, polished look. You can twist it tight or keep it a little looser for a soft, romantic vibe.
- Ponytail: High, low, or somewhere in between, ponytails are a tried-and-true option. Add a little dry shampoo for lift, then smooth the sides with a brush for that “model-off-duty” feel.
Both styles are fast, foolproof, and totally chic—even if you’re running out the door with just five minutes to spare.
Step 4: Lazy Curling

No time for a full-on curling session?
I’ve got you covered with these lazy-girl approved curling tricks that’ll take your look to the next level without spending ages with your curling iron:
- Face-Framing Strands Only: Start by pulling the majority of your hair into a bun or ponytail, leaving out just two strands on each side to frame your face. Curl just those pieces for a super effortless look that screams “I woke up like this.” It’s quick but still makes a big impact.
- High-Ponytail Curls for Instant Waves: Another hack – tie your hair into a high ponytail and curl large sections of just the ponytail. This should be quick, like 5 minutes tops. Once you’re done, let your hair down, and voila—big, loose waves that look way more polished than they should for how little time you spent on them.
If you’re new to this trick, check out the YouTube tutorial “5-Minute Lazy Curls” by MakeupWearables Hairstyles. It’s legit a game-changer for mornings when you need to look cute but have, like, five minutes to get out the door.
Hair doesn’t have to be complicated to look amazing. By sticking to these simple steps, you’re setting yourself up for good hair days without even trying that hard.
Enjoyed this? Save the pin to your Pinterest collection: