
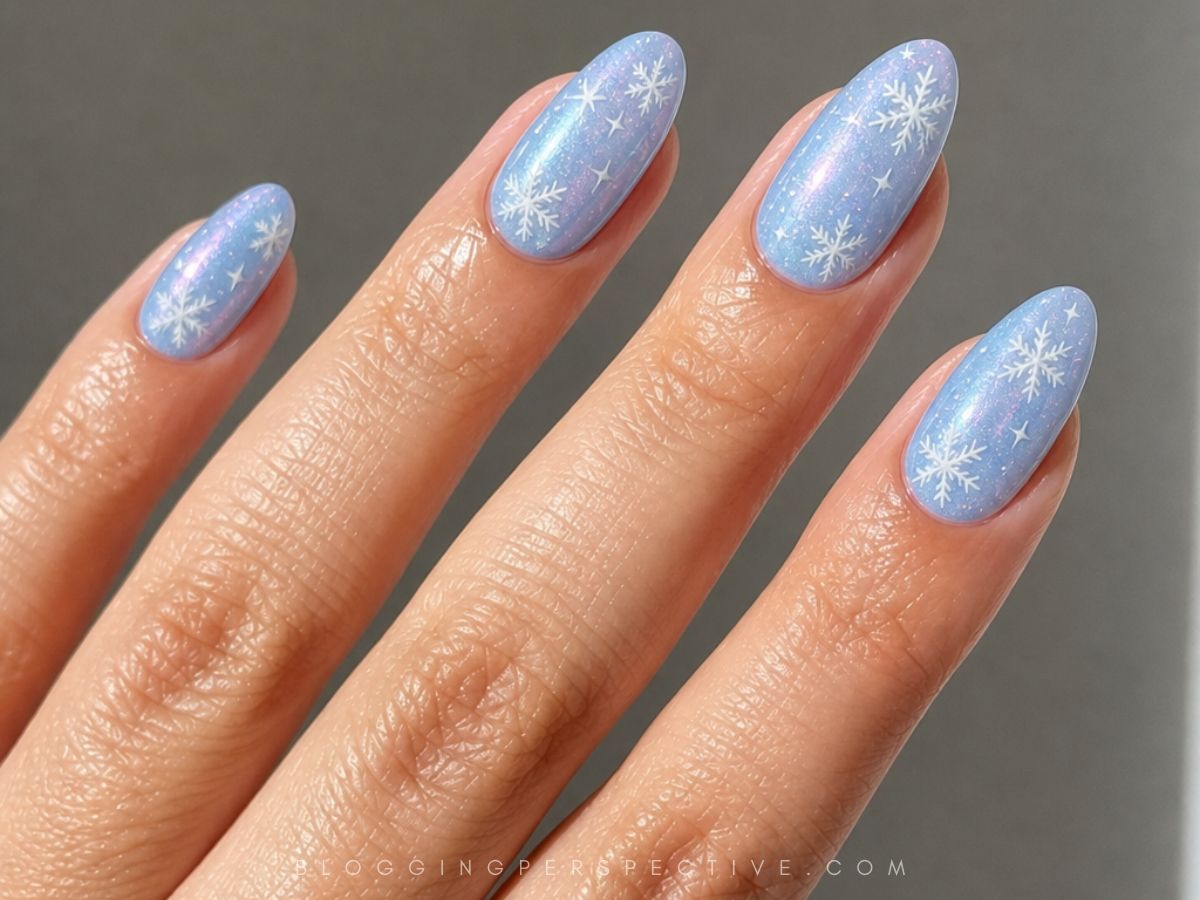
There’s something quietly satisfying about picking a nail color you don’t usually ask for. Blue might be a small departure from your regular neutrals, or it might already be the shade you keep coming back to.
Either way, blue winter nails leave room to experiment with a different finish or a little detail without changing everything at once. Sometimes that’s all the novelty a fresh manicure needs.
Winter Blue Nails: Trends and Tips
Start with how much blue you actually want to see. Full navy nails feel bolder than a narrow blue tip, while a sheer or neutral base leaves more breathing room.
If you’re torn between shades, decide whether you want a deep, inky mood or something softer before choosing the art.
Your reference doesn’t have to dictate your nail length. On shorter nails, ask for smaller motifs or move a detailed design onto one accent nail instead of squeezing everything in.
Longer nails give gradients and patterned tips more room, but you can still keep the layout simple if that’s your thing.
The design directions here range from magnetic cat-eye shimmer and glossy fades to metallic borders, tiny stars, and raised details.
There’s also plenty of pattern mixing, including plaid and leopard print. Pick the texture or motif you’re most excited about first, then choose supporting details that won’t compete with it.
- Check The Lighting – Compare blue swatches in daylight and indoor light so you know when a shade looks almost black.
- Bring A Focused Reference – Tell your nail artist which part you want to keep and which details you’re happy to skip.
- Map Out Each Nail – Jot down where solid color, tips, and accents will go before you start painting.
- Adjust The Tip Width – Try a slimmer French tip if a thick band would leave very little of your base showing.
- Step Back Between Details – Check the design at arm’s length before adding more art, since tiny marks can blend together.
- Give Layers Drying Time – When using regular polish, let your base dry before adding painted details so the colors don’t drag together.
- Use Nail Art Products – Choose decorations and adhesive made for nails, and follow their application instructions rather than improvising with craft supplies.
Now let’s get into the individual designs. Some keep the winter nod subtle, while others lean into sparkle, little patterns, or a whole mix of accents.
Snowflakes With A Striped Twist
Glitter tips, stripes, and snowflakes make this a playful winter mix. I like that the straight lines give the snowflake details something different to sit beside. Use a fine nail-art brush for the stripes so they don’t take over the tip. Leave a little clear space around each snowflake to keep its shape readable.
Little Stars With Breathing Room
You don’t need a busy design to get that starry winter mood. Neutral nails and cat-eye accents give the star details two different backgrounds to work against. For your version, try one slightly larger star with a couple of smaller ones instead of repeating identical shapes. The change in scale adds interest without needing another pattern.
Bows Meet A Starry Shimmer
Blue cat-eye tips give this bow-and-star combination its shimmery starting point. The silver and gold accents bring two different metallic notes into the design. If you want both metals without a scattered look, repeat one more often and use the other sparingly. Let the bow stay the main decorative detail rather than matching it with equally large stars.
Leopard Print Takes A Moody Turn
Navy and neutral nails, tips, and leopard-print accents take winter blue somewhere less expected. This is the option to bookmark if snowflakes aren’t really your thing. When putting leopard print into a narrow tip, shrink the spots rather than squeezing in a full-size pattern. Keep the little shapes irregular so the print doesn’t turn into a row of matching dots.
Silver Edges With Extra Sparkle
The navy tips get a sharper outline from a silver border, then stars and rhinestones add sparkle. There’s a lot of detail happening right around the tips. If you want that border to stay visible, choose smaller rhinestones and leave breaks between them. You can also save the stones for one or two nails while keeping the silver line throughout.
Glitter That Fades Instead Of Stops
Ombré glitter nails and gradient tips trade a hard edge for a softer fade. The sparkle becomes part of the transition rather than a separate stripe. To recreate that effect, add glitter in light passes and build the densest coverage near the tip. Use less as you move inward so there’s no sudden glitter cutoff.
Marble Breaks Up The Navy
Solid navy nails make the marble accents feel intentional, and silver lines give the set another detail to play with. The contrast is moody without relying on seasonal symbols. For a cleaner marble design, start with just a few uneven veins rather than a dense web of lines. Trace only selected sections in silver so the metallic accents don’t swallow the marble effect.
A Chrome Line Changes Everything
A silver chrome line gives these ombré tips a crisp counterpoint. You get the softness of a fade and the definition of a metallic accent in the same design. Establish the gradient first, then add the line according to the nail product’s application instructions. If you’re adapting this at home, a fine silver nail-art polish can give you a similar outlined vibe without a chrome finish.
Plaid And Polka Dots Play Together
Bows, plaid, and polka-dot tips bring a playful pattern mix to navy and white nails. The shared colors help the different motifs feel connected. For your version, give each pattern its own space instead of layering all three onto one nail. Simplify the plaid to fewer crossing lines if the available area is small.
Snowflakes On A Sheer Base
The sheer base keeps these silver snowflake accents light and delicate. This one leans on the winter detail rather than heavy color coverage. Tiny snowflakes can be tricky to paint evenly, so nail-art stickers or a stamping plate are useful alternatives. Choose a size that lets the entire snowflake fit without crowding the sides of the nail.
Shimmer With A Sculptural Side
Chrome cat-eye nails already have plenty of shine, and rhinestones with 3D drop accents push the design into statement territory. This isn’t the barely-there option, and that’s the appeal. Ask for smaller raised drops if you want the same idea with less height. Leave some undecorated space so the cat-eye finish still has room to show.
Winter Tips With A Floral Twist
Neutral nails and navy tips create the base for 3D floral and star accents. Flowers make the winter palette feel a little less predictable. Try placing the raised flowers slightly inward from the tip edge so the navy shape stays recognizable. If you’d rather skip the texture, painted flowers can keep the motif while giving you a flat finish.
The Glossy Fade Without Extras
Sometimes the blend itself is enough. These glossy ombré nails let the color transition carry the design without extra motifs. For a softer blue version, choose neighboring shades rather than two with a huge jump in depth. Blend where they meet with light dabbing motions, then use your chosen system’s glossy top coat to finish.
Mixed Shades With Golden Details
Glossy nails in mixed shades make room for variation, with gold ring accents adding another point of interest. You can keep the mixed-color idea even if you want very little other nail art. Before applying polish, line up your chosen shades in finger order and check whether you like the sequence. Try alternating lighter and deeper blues if you want contrast instead of a gradual progression.
Tiny Stars At The Glitter Edge
Glitter tips get a little extra personality from gold stars and rhinestones. The sparkle comes from several details rather than glitter alone. Keep a small gap between the stars and stones so their individual shapes don’t disappear into one shiny cluster. For a lighter take, use stars on some tips and rhinestones on others instead of both everywhere.
One Leaf Print Does Enough
Navy nails with one leaf-print accent keep the layout straightforward. That single patterned nail gives your eye somewhere to land without turning the whole set into a print. Choose a leaf motif with clear shapes if you’re working on a small nail. A few readable leaves will do more for the design than lots of tiny, crowded ones.
Silver Swirls With Starry Interruptions
Silver swirls and stars add movement to these glossy nails. The curved lines give the design a different feel from straight metallic borders. Sketch the route of each swirl before painting, then put stars into the open areas rather than across every curve. That keeps the line flowing and stops the details from tangling together.
Two Tone Tips With Star Power
Navy and white tips with star accents offer a more graphic take on winter nails. The contrast does plenty of work before the stars even enter the picture. Use the same curved guide for both tip colors if you want a consistent shape across the set. Or deliberately change the tip width on an accent nail, while keeping the others aligned.