
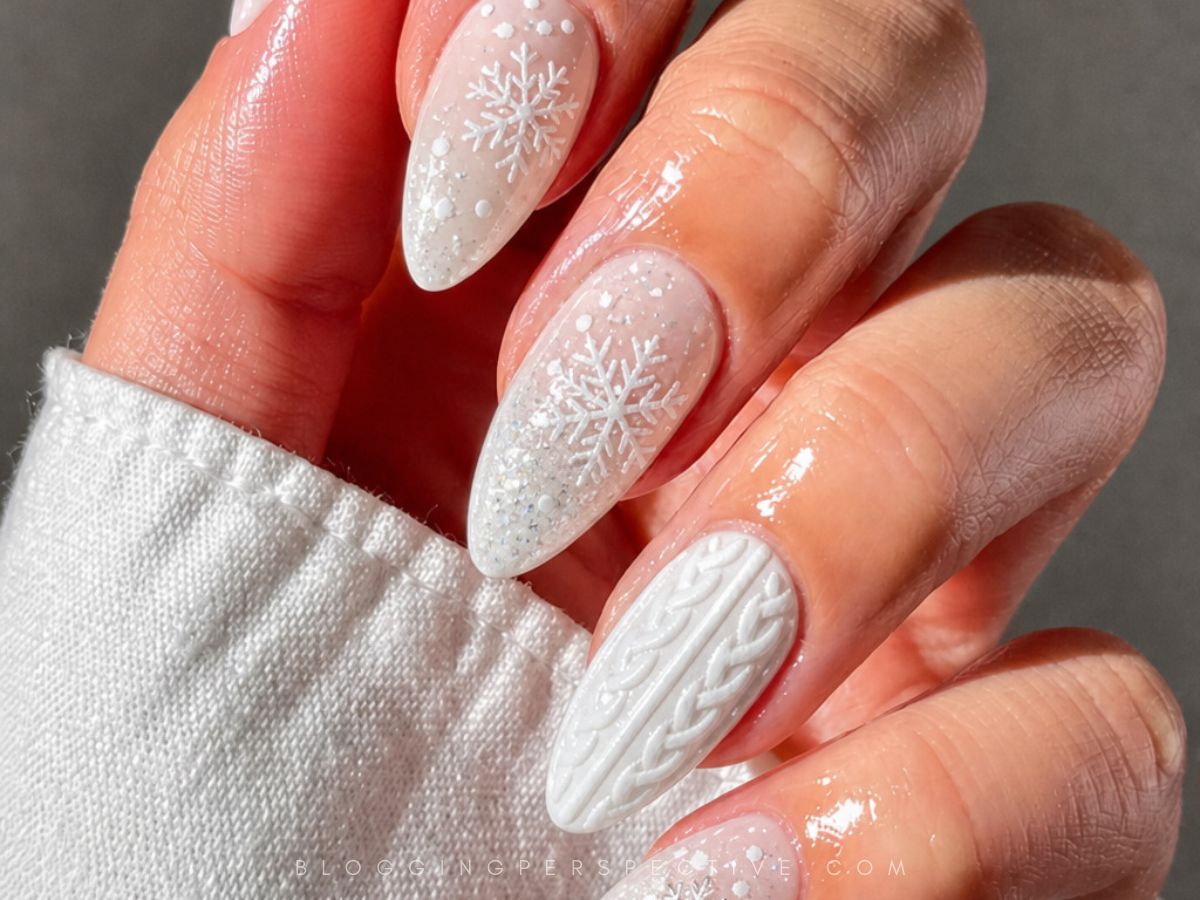
If your last few manicures have been burgundy, brown, and then burgundy again, a lighter shade might be a welcome change.
White winter nails offer a break from those deeper seasonal colors without feeling disconnected from the weather outside.
You can keep the look clean or add a little detail that makes it more personal. Either way, you don’t have to wait for warmer days to enjoy something light on your fingertips.
White Finishes That Do Not All Look The Same
Start with the base, because sheer and milky aren’t interchangeable. Sheer polish lets more of your natural nail show through, while milky coverage softens that contrast.
Gloss adds a glassy finish; matte makes pale details feel quieter. Decide which effect you want before adding all the little extras.
The amount of room on your nails matters more than fitting in every detail.
On a shorter nail, a narrow French tip or one small accent leaves breathing space. Raised flowers and bows need room, too.
A flatter painted version can keep the same idea without as much texture.
These designs explore a few different directions: wintry snowflakes and silver accents, delicate lace, and sculpted flowers, drops, or swirls. You don’t have to combine them all.
Choose one main motif, then use a supporting detail like glitter or pearls to tie the set together. That’s where the planning pays off.
- Compare White Undertones – Hold a bright white and a softer creamy white swatch beside your nails before choosing your base.
- Build Coverage Slowly – Apply thin polish coats and follow the product’s drying instructions rather than loading on one thick coat.
- Map The French Edge – Mark the center and sides of each tip first so the curves look balanced across the set.
- Control The Glitter – Wipe excess glitter polish from the brush before applying it if you want the base to stay visible.
- Try Flat Details – Choose nail-art decals or painted motifs when you want bows or pearls translated into a smooth design.
- Keep Matte Intentional – Use a matte nail top coat only where you want that finish; a glossy layer over it will change the effect.
- Bring An Edited Reference – Tell your nail artist which details you want to keep and which you’d skip instead of requesting every accent.
Now for the little details that make each set feel different. The ideas below move from airy linework to snowy tips, with plenty of texture in between. See which one makes you stop scrolling.
More cute white winter nails below!
Airy Almond Nails With A Little Shine
An almond shape gives sheer nails a soft outline, and the abstract lines keep things from feeling too plain. Rhinestones add small flashes of shine without needing a glitter-covered base. Keep the linework thin on narrower nails so it doesn’t swallow the sheer space. I’d let the lines wander rather than make every nail an exact copy.
Bows With A Pearly Twist
A neutral base makes room for the bows, pearls, and raised drops to do the talking. There’s a sweet, decorative feel here, but you can decide how busy to make it. For a simpler version, repeat the bow motif and cut back on the other accents. You still get the same playful mood without three details competing on every nail.
Silver Lines Meet Soft Pearls
Silver line art gives this neutral manicure a crisp note, while pearls soften it again. I like the contrast between drawn details and little rounded accents. If you want a flatter finish, swap the pearls for small dots of nail-safe pearlescent polish. Keep those dots separate from the silver lines so both details stay clear.
Tiny Beads Big Texture
Sheer glitter sets the mood, with micro silver beads, a raised bow, and swirls adding extra texture. This one leans into detail rather than a solid block of white. A fine glitter suspended in clear polish will give a lighter result than a densely packed glitter formula. Leave visible gaps in the sparkle so the tiny beads don’t get lost.
A French Set With Bow Energy
French tips get a playful update with a raised bow and white bead accents. The familiar tip shape helps anchor all that decoration. Choose a rounded French curve for a softer feel, or a sharper curve if you want more contrast with the bow. Settle on that outline before planning the bead placement.
A Little Silver Star Power
Silver stars and rhinestones give these French tips a twinkly finish. It’s winter nail art without relying on a snowflake. Try placing a star slightly off-center so it doesn’t look stamped into the middle of every nail. Keep nearby rhinestones smaller than the star to give the eye one clear focal point.
Matte Makes The Details Different
Matte nails and French tips bring a finish change to the floral line art and rhinestone details. The contrast is about texture as much as decoration. If you’re recreating mixed finishes, have the matte areas finished separately from any sections you want glossy. That way, the final top coat doesn’t accidentally erase the difference.
Milky Swirls Skip The Sparkle
Solid milky nails with raised swirl lines don’t need beads or rhinestones to feel detailed. The texture is the whole point here. Leave a little space between each curve rather than overlapping lots of lines, especially on a smaller nail. Fewer, cleaner swirls make their shape easier to appreciate.
Coffin Tips With Snowy Sparkle
The coffin shape gives white French tips a defined edge, and glitter snowflakes bring the winter theme. This is the more geometric side of the lineup. When placing the snowflake art, leave part of that white tip border unbroken so the shape stays visible. Keep the glitter fine around the snowflake if you want its branches to read clearly.
Star Confetti Without The Bulk
Glitter and star confetti bring sparkle to a neutral base without the raised flowers or bows seen elsewhere here. You can dial the density up or down. For more control, use a nail-art brush to position nail-safe confetti stars individually rather than relying on where the polish drops them. Leave a few open spaces between stars so each one keeps its shape.
Lace Details Worth A Closer Look
Lace print brings fine detail to neutral nails, with rhinestones adding a little shine. It’s a different kind of softness from sculpted petals. A nail stamping plate can help create a consistent lace pattern if freehand lines feel too fiddly. Test the print on a practice tip first to check that the tiny openings don’t fill in.
Gloss Glitter And A Bow Moment
Glossy and glitter nails mix with raised bow accents for a playful finish. The shift between shine and sparkle keeps the set from feeling one-note. Concentrate the glitter on selected nails if you want the glossy sections to remain distinct. If you’d rather skip the raised bows, painted bows can keep the mood while changing the texture.